Get started with Optic Cloud
Optic Cloud helps teams built on dozens of APIs work more efficiently. Fewer breaking changes, accurate API docs, and well designed interfaces help teams ship great products faster.
The benefits of setting up Optic Cloud:
- An API Catalogue with verified accurate documentation
- Provide documentation previews and changelogs on every pull request (example (opens in a new tab))
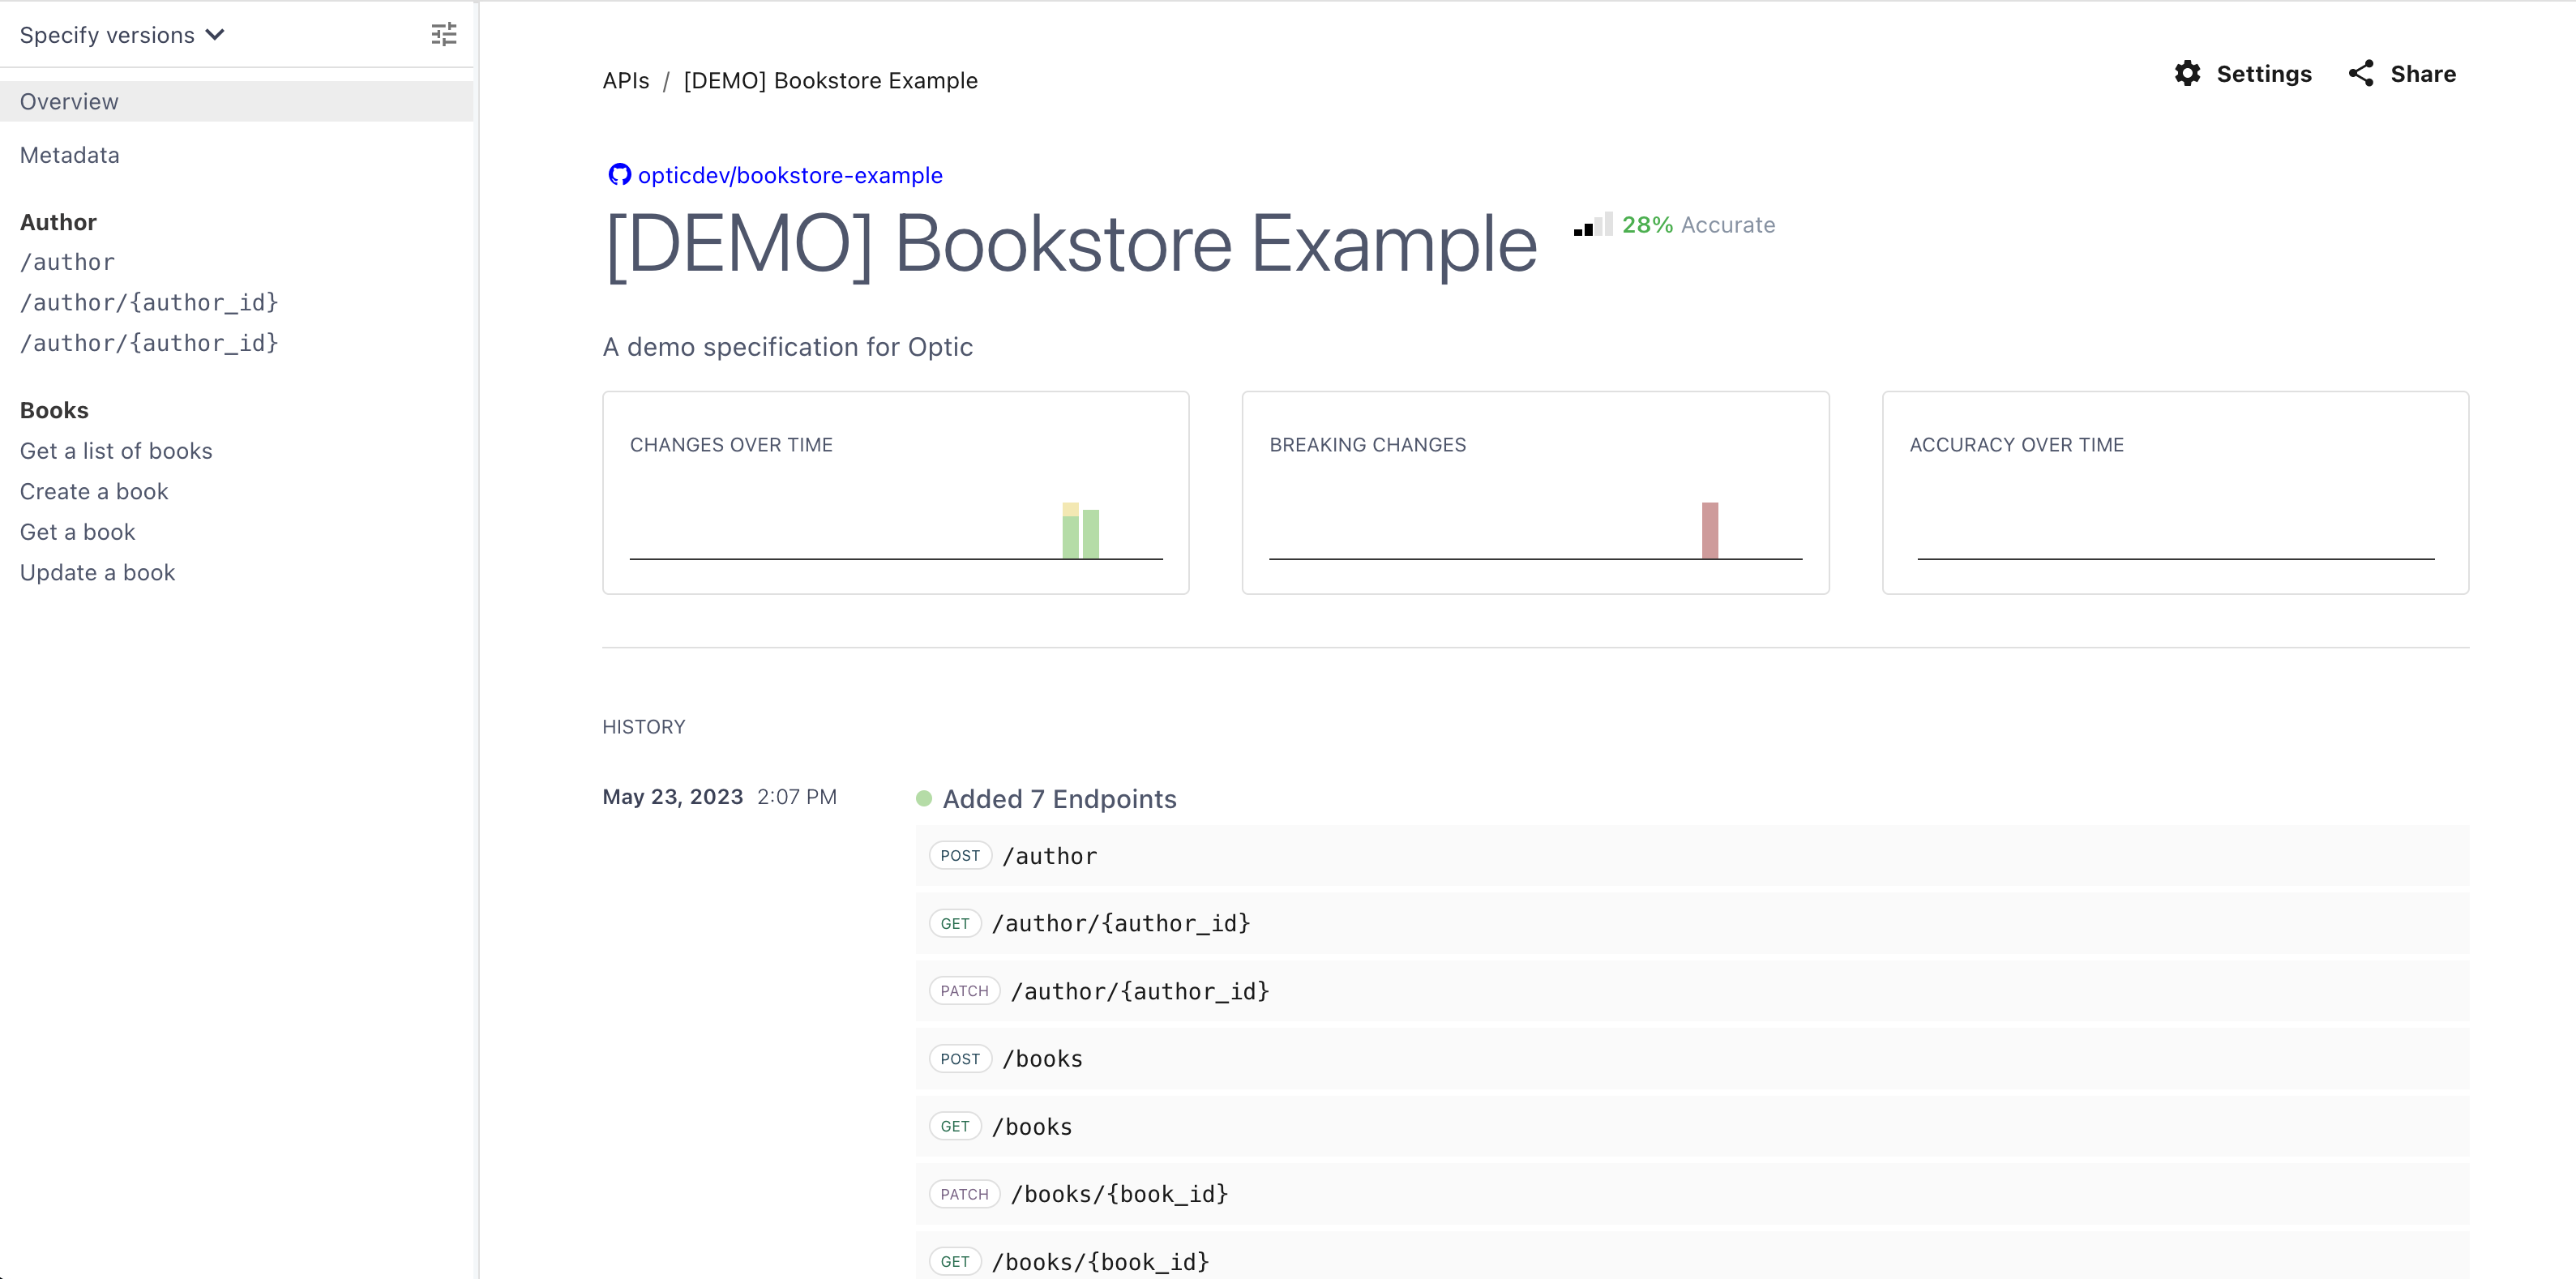
- Store every version of your OpenAPI spec and see trends across versions (example (opens in a new tab))
Prerequisites
- Have Optic running in CI (GitHub or GitLab)
- A repo you want to add Optic to with OpenAPI specs
- If you don't have a repo with OpenAPI specs, you can clone our example repository (opens in a new tab)
Turn on Optic Cloud
If you haven't installed the Optic CLI yet, install it now.
npm install -g @useoptic/optic1. Log into your Optic Cloud account
Next, log into Optic Cloud in your CLI by running the following command. You will be able to create an account if you do not already have one
optic login> optic login
Generate a token below
Create an account and generate a personal access token at https://app.useoptic.com/user-settings/personal-access-token/new
✔ Enter your token here: … ***********************************************************************************************************
Verifying your token
Successfully saved your personal access token to /Users/user/.config/optic/config.json
2. Add the APIs you want to track
Next, add the APIs you want to start tracking.
Generated specs: If you have a script that generates a OpenAPI spec in CI, you can skip to the next section
Open one of your API projects and run the add command with an OpenAPI specification:
optic api add specs/account-service-openapi.yml --history-depth=0This will add your API to Optic and instruct Optic to start tracking any changes you make to this file.
--history-depth=0 will backfill OpenAPI history to Optic - this can take some time if you have a lot of history. You can cancel backfilling at anytime or omit --history-depth and backfill history later by running the same command.
If you have a lot of OpenAPI specs in a monorepo, you might want to add multiple specs at once. You can always come back and add more specs later so it is ok to skip this step for now.
# list all the detected specs in the current repo
optic api list

# add these specs to Optic
optic api add --all --history-depth=0

# or add all specs in a specific path
optic api add ./specs --history-depth=0
3. Turn on cloud
Finally, turn on Optic Cloud in your CI pipeline by adding an Optic token.
Start by generating an organization access token by visiting our app (opens in a new tab).
Once you have generated a token, set the token in the CI script
Set this token as a GitHub Actions Secret for your project (opens in a new tab). You can do this on GitHub's UI or with their gh CLI:
gh secret set OPTIC_TOKENThen update the GitHub action workflow set the optic_token input to ${{ secrets.OPTIC_TOKEN }}. If you have been following our CI setup flow, this should already be in your optic.yml GitHub action file.
jobs:
  diff-all:
    runs-on: ubuntu-latest
    steps:
      - name: Checkout
        uses: actions/checkout@v3

      - uses: opticdev/action@v1
        with:
          # Your Optic Cloud Token
          optic_token: ${{ secrets.OPTIC_TOKEN }}
          ...
Finally, merge these changes into your main branch. Any subsequent Optic CI run will now:
- include a preview and changelog in each PR comment
- sync every OpenAPI spec to Optic Cloud
All documentation and history can be viewed in your Optic Cloud (opens in a new tab) account
What's next
Great, now Optic is set up to track every API change. You'll notice as OpenAPI changes are merged into your default branch, Optic will continually track every version and start tracking statistics like number of added / changed / removed endpoints, and breaking changes introduced (along with other statistics).
Here are some other things you can do with Optic Cloud